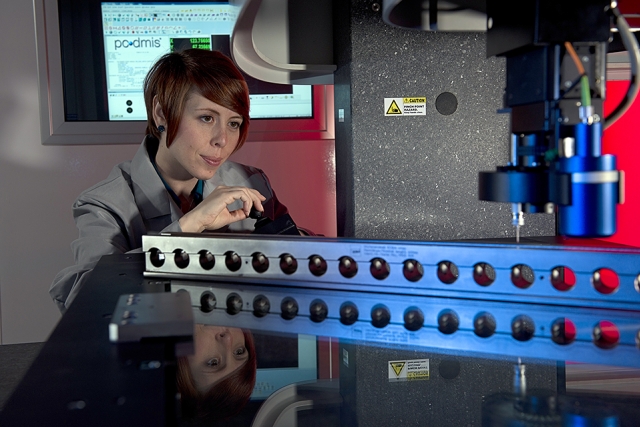
Manufacturing processes at Y-12 require the use of precision machinery modified to meet our unique process requirements and exacting specifications. The only thing more difficult than manufacturing the parts we produce is measuring them with an accuracy that is four times smaller than the manufacturing tolerance. The metrology organization at Y-12 has to keep ahead of the curve on new technologies to keep up with ever-shrinking tolerances of design demands.
The multi-sensor coordinate measuring machine, shown here, can measure with a traditional tactile probe, a high-resolution CCD camera, or a chromatic white light sensor. Using the CCD camera, the machine is capable of measurement with an uncertainty of about one micron over 600 mm. The white light sensor has a resolution for surface height measurements of 0.01 microns. As a reference point, one micron is on the order of the size of a particle of smoke, and the average human hair is about 100 microns in diameter. So, when someone says about our measurement processes, “Aren’t you just splitting hairs?” we have to admit we are, at least six times.