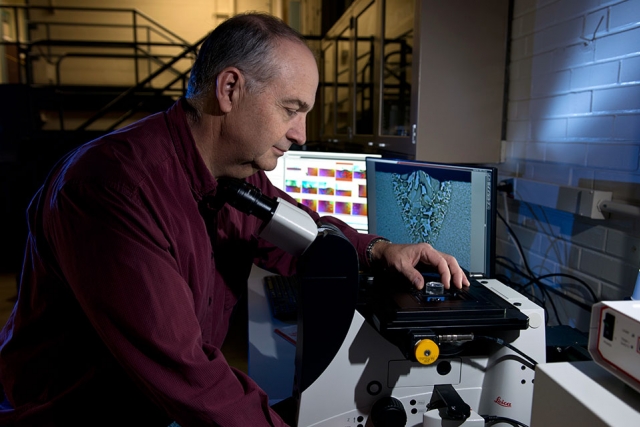
Over the decades, Y-12 Development’s Metallography Laboratory (Met Lab) has studied the crystallographic microstructure of metals and alloys while undergoing many changes. The Met Lab was once a multiuse laboratory where technicians performed a laborious processing step to provide microstructural data to engineers and scientists to support various programs.
“Historically, every metal, alloy, and sometimes even nonmetals in the weapons stockpile made an appearance in the lab,” said Bob Bridges, Y-12 Development.
Does the Met Lab do basic metallography these days? “Not really,” Bridges said. “There was a time when everything we looked at was new and needed to be recorded for further review.”
The Met Lab’s current work is no longer routine as it once was, and as the scope of the work grows beyond metals to ceramics, plastics, powders, coatings, and other materials, the lab must stay ahead of the curve. Bridges said, “The best part of the work is you never know what someone will bring in to look at next.”
Today, the lab’s role is to study how or why the crystallographic microstructure changed. “Every component, piece, coupon, or specimen received for evaluation changed from its original state in some way and that needs to be understood to determine if the result is life limiting or normal,” Bridges said.
The Met Lab is equipped to examine radiological, nonradiological, classified, and unclassified objects using basic cutting, grinding, and polishing techniques along with state-of-the-art digital optical microscopes. All of the microscopes are maintained with current quantitative analytical tools. Other diagnostic equipment includes hardness testers, stress-strain microprobes, and gas quenching dilatometers for measuring physical properties from specimen sections. Access to other diagnostic tools, such as electron microscopy, can be incorporated from other groups within Y-12 Development. All of these tools are important in gaining a better perspective of grain size, inclusion content and particle distribution, microstructure and phase analysis, and some mechanical property data.
“Even with great tools, determining the root cause for failure analysis is not something that can be solved in an hour like you would expect from television,” Bridges said. “However, like popular crime dramas, you must have solid evidence to support a hypothesis, and usually from multiple pieces of information.”
Some of the problems solved over the past few years involved suspect counterfeit components, service integrity of control circuit components, premature failure of administrative controls, optimal alloy selection for service, and analysis of a variety of weld joints. “The key to solving a failure analysis is to not rush to an unsupported conclusion, even if it comes from the customer,” he said.